Timelines are frequently used to show historical flows, company progression, and even app or program development. They are often similar to some types of infographics in that they can be visually appealing. And adding a timeline to WordPress is simple for practically any reason. Therefore, we will show you step-by-step how to create a timeline in WordPress that will help keep your visitors interested.
Why Should You Use a Timeline in WordPress?

Timelines are ideal for presenting stories, displaying goods and processes, and simplifying the communication of a complicated message to the end-user. A timeline is highly useful for displaying your brand’s history, successes, and product development stages. Therefore, a timeline is required on your website if you wish to present any of these items that contain multiple stages.
In addition, one way to engage your customer is to show clarity about your company or goal. Perhaps you’d want to add to your portfolio by displaying your accomplishments. A timeline may help visitors to your site see your progress in an appealing way. Moreover, a display of upcoming activities keeps potential customers active and informed.
Let’s go into how to create a timeline in WordPress!
How to Create a Timeline in WordPress?
We highly recommend Timeline Express plugin to create a timeline in your WordPress because it’s one of the most popular free WordPress Timeline Plugins, and it’s simple to install and integrate into your WordPress website.

Let’s take a look at the tutorial on how to create a timeline in WordPress in detail!
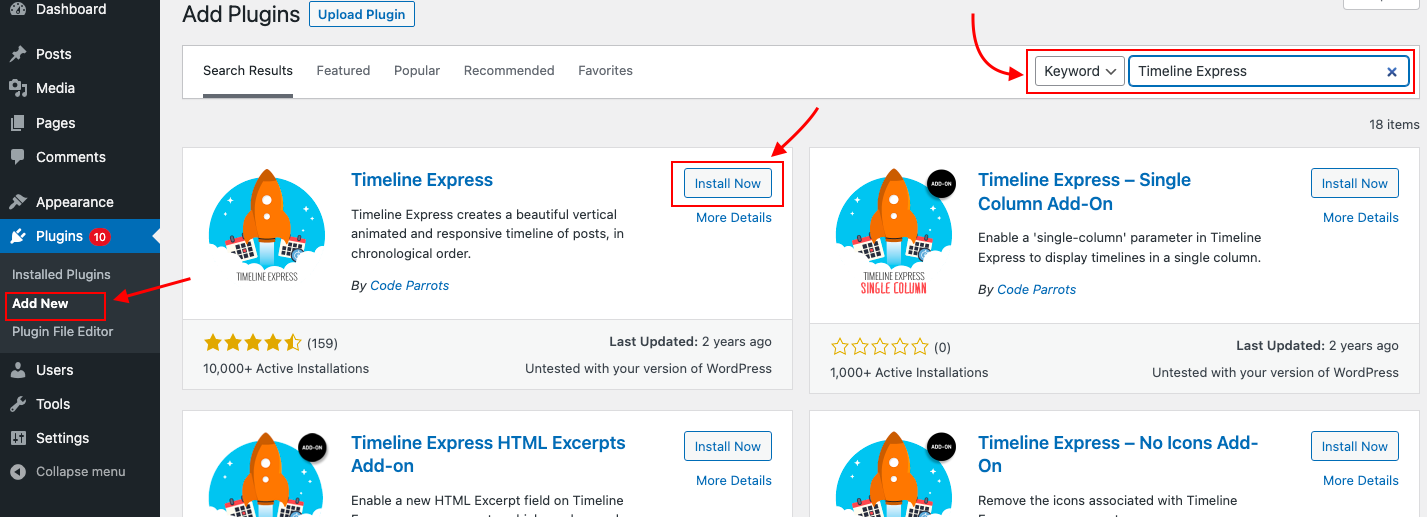
Step 1: Install and activate this plugin.
To use this plugin, you can follow these steps:
- Select Plugins from the dashboard menu and click Add New.
- Find the Timeline Express plugin.
- Click on the “Install Now” button
- Activate the plugin.
After activation, the plugin will send you to its About page. You may learn about getting started, including detailed instructions and information about using the plugin, from this page.
If you have some spare time, I recommend reading through some of these articles to understand more about what you can do with the plugin, including the add-ons that can be installed.
Step 2: Adjust Your Settings
Click the “Settings” from the Dashboard.
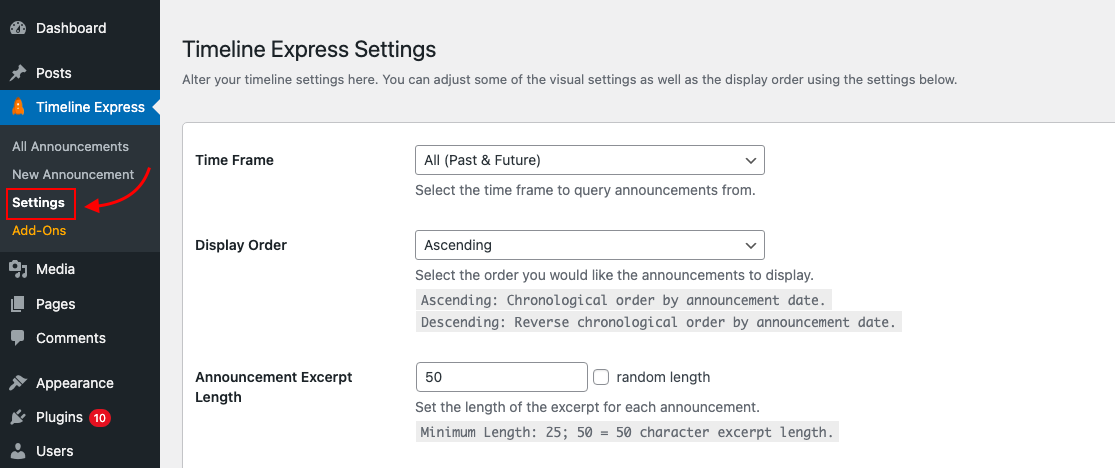
In this screen, you can customize how the timeline appears on your website. This includes things like the display order, colors, excerpt lengths, and making the “read more” links accessible.
You can change any of these features to best suit the aesthetics of your website.
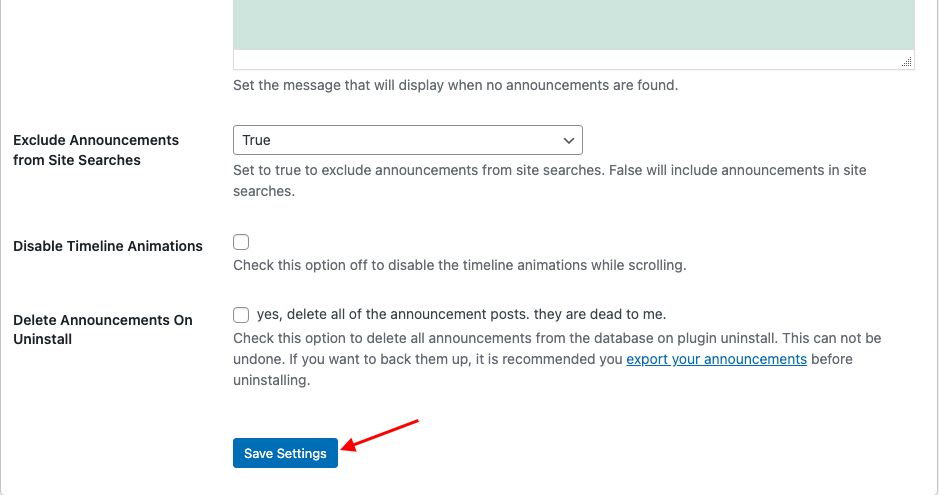
After making your changes, click the “Save Settings” button at the bottom.
Step 3: Adding a New Announcement
The “Announcements” of this plugin are simply the points on the timeline that you wish to add. You’ll need to make a fresh announcement for each point you want the visitor to see.
On the left, click the “New Announcement” option.
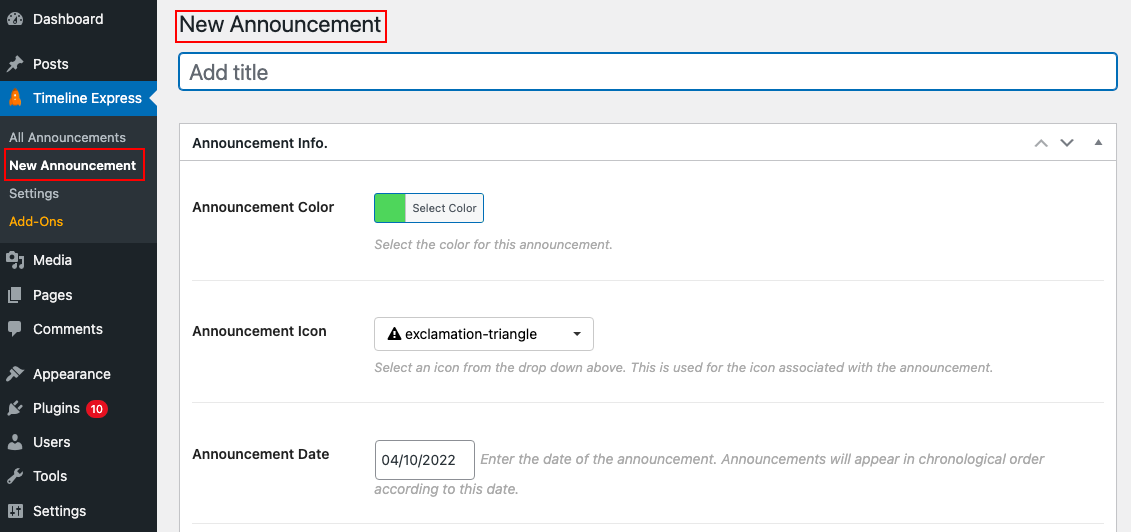
Make a title for your announcement.
Enter the information you want visitors to see. This includes altering the announcement banner, and icon and selecting a different color in the settings from the default.
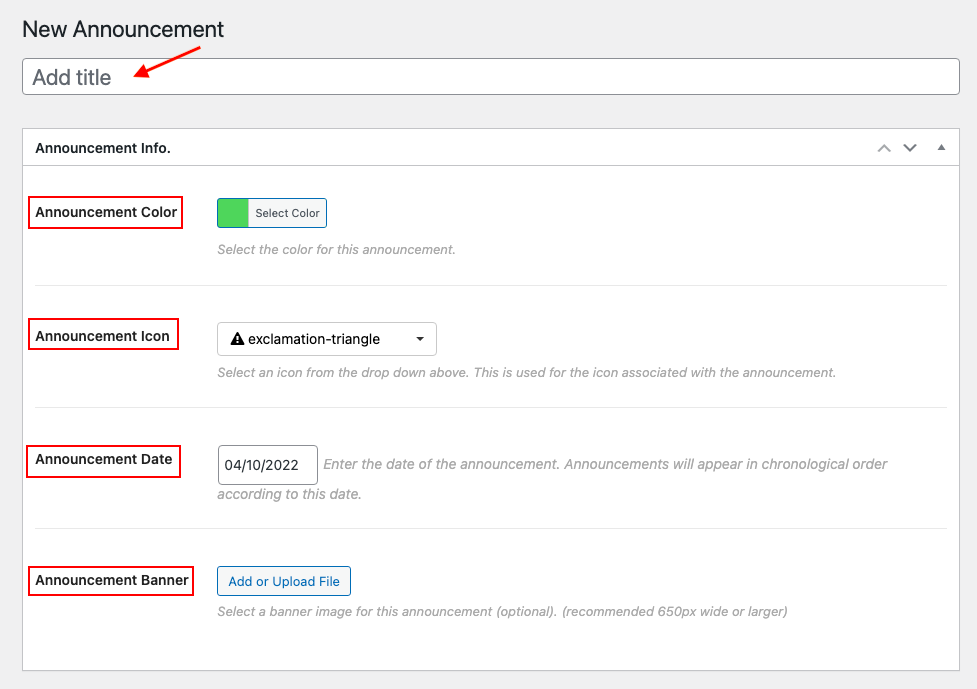
Take note of the form’s expiration date. Announcements in this plugin will be displayed in chronological order. So, if you’re establishing a history database, ensure sure the date is correct for the occurrence.
Otherwise, events may occur out of order.
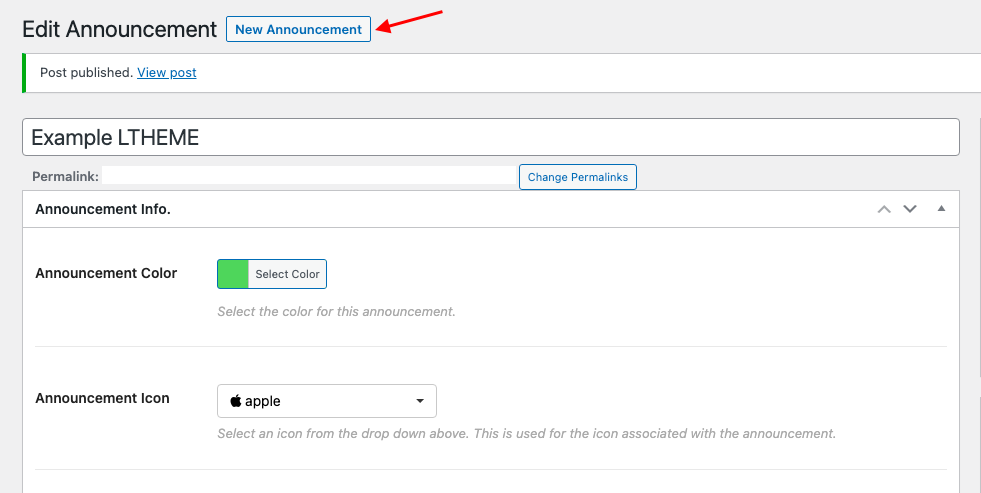
When you’re finished, click the “Publish” button on the form.
To add more announcements to the timeline, click the “New Announcement” button at the top and repeat the process. You have the option of adding as many points as you like.
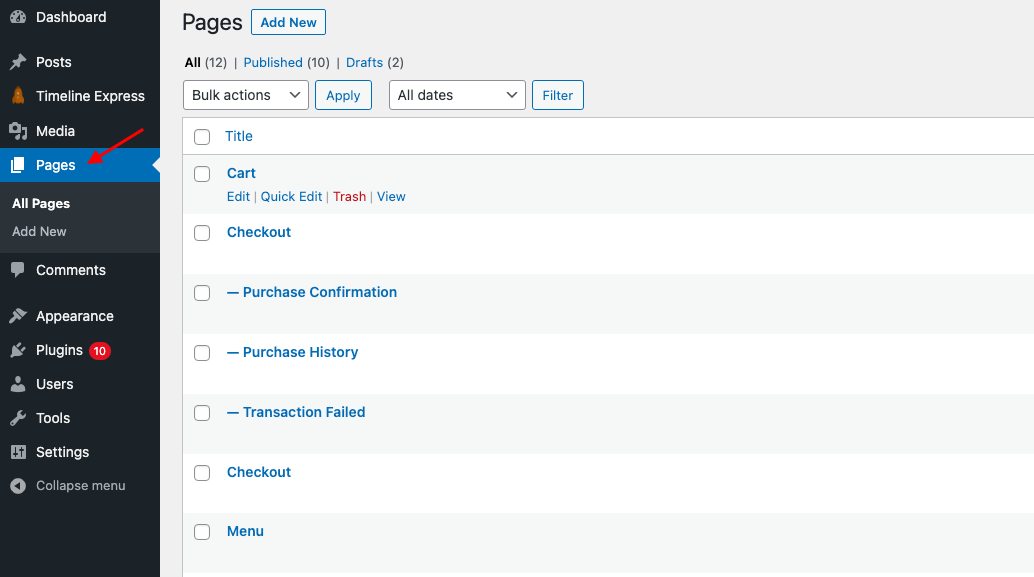
Step 4: Placing the Timeline
Go to any post or page on your website when you’re ready to add the timeline. You may even make a new one only for displaying your timeline.
Copy and paste the shortcode
[timeline-express]
into your post or page to make the timeline appear. It is easy for you to add a shortcode in WordPress.
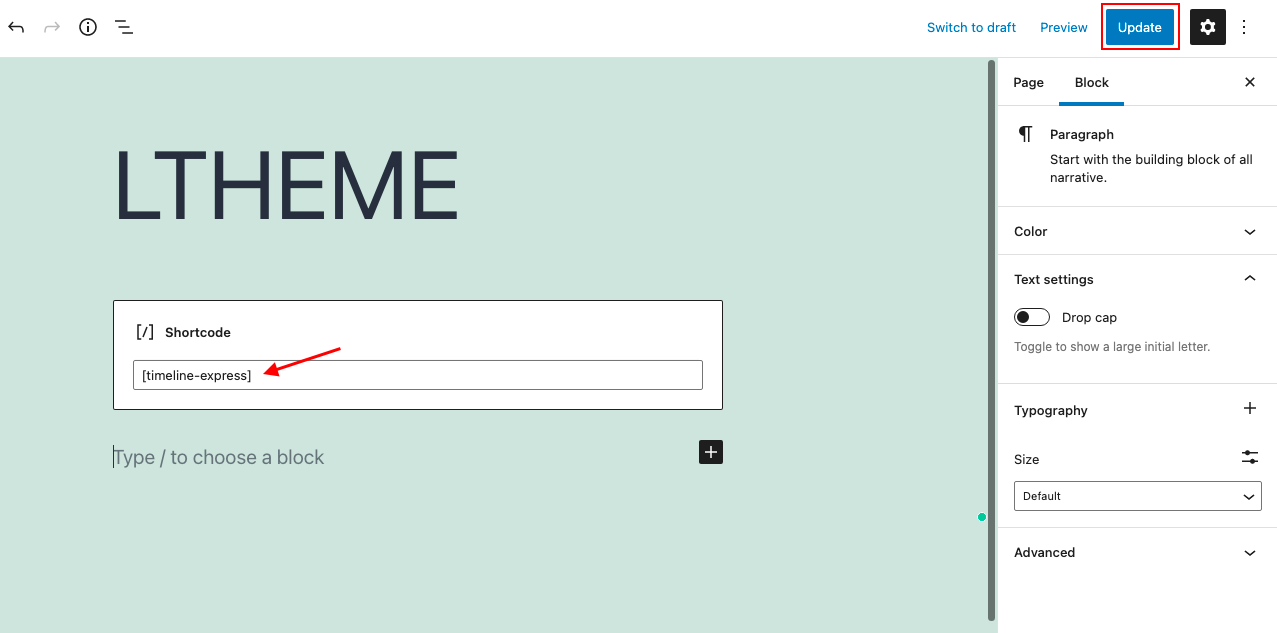
The WordPress vertical timeline will appear as you Update or Publish your page.
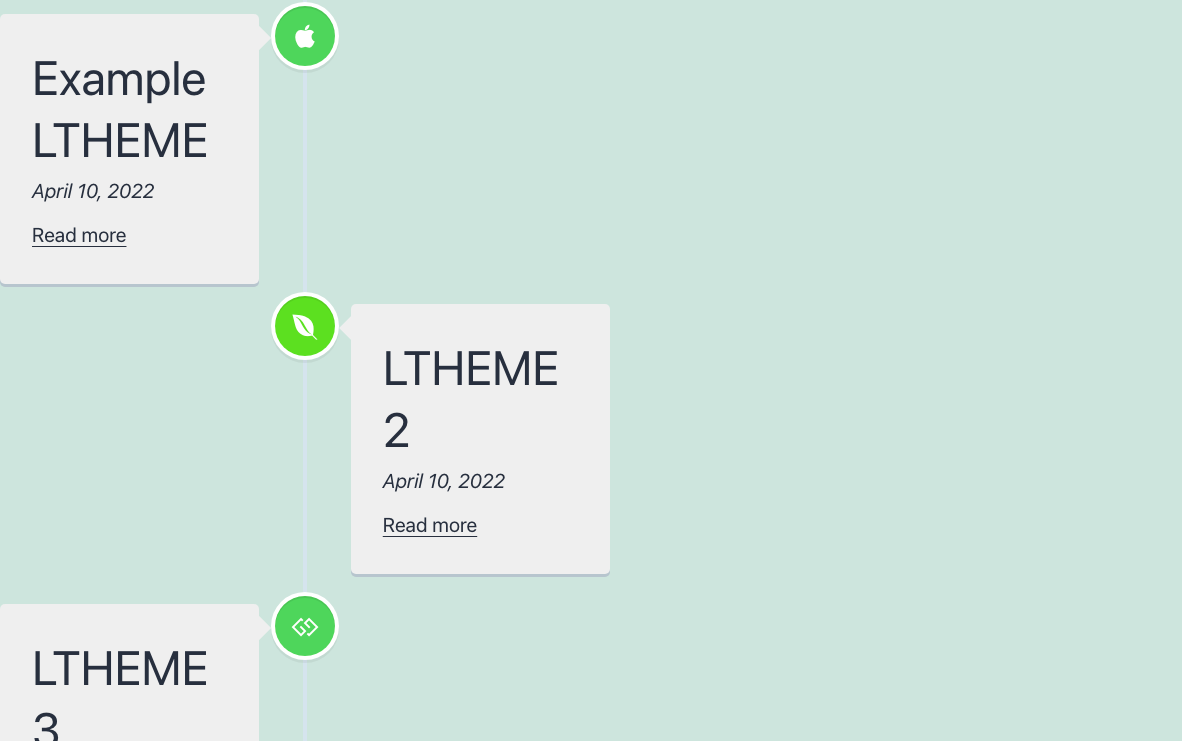
That’s all about how to create a timeline in WordPress that you should keep in mind thoroughly.
Wrapping Up
We’ve already gone through step-by-step how to create a timeline in WordPress in this post. Timelines are extremely beneficial for delivering a flow process or historical record. And, because each announcement, like every WordPress post, may contain content, you can add even more details to interest the visitors. We hope you find this post helpful and don’t forget to share it with your friends.
Furthermore, if you are looking for a stunning and responsive design to make your website more attractive and professional, please explore our Free WordPress Themes.

- How to handle negative customer reviews - October 25, 2023
- Joomla! 5 release – What’re Joomla 5 new features? - October 20, 2023
- How to Upgrade Joomla! 4 to Joomla! 5 - October 20, 2023


Recent Comments